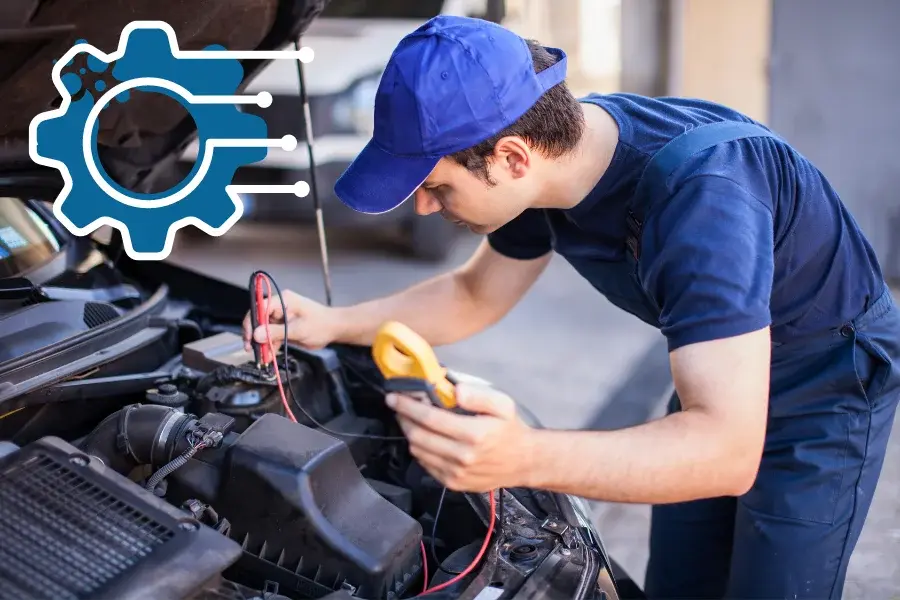
Car electrical systems are complex, but with the right knowledge, you can fix your own electrical repair problems. Do-it-yourself car electrical repairs may seem like a daunting task, but with the right tools, patience, and a little understanding, many of the most common problems can be solved. Whether it’s a blown light bulb, a dead battery, or a problem with your car’s wiring, knowing the basics of your car’s electrical system can make it easier to repair your vehicle like a pro. In this guide, we’ll walk you through seven simple steps to fixing your car’s electrical problems.
Disconnect the Battery for Safety
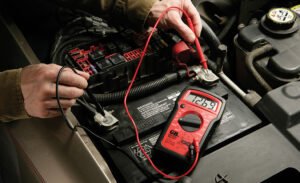
The first step in any electrical repair is making sure you have the right tools and supplies. Before you start working on your car, gather the necessary supplies. These include a multimeter, electrical tape, fuses, wire strippers, a soldering iron, and any replacement parts needed for your specific problem. A multimeter is especially useful because it can measure voltage, current, and resistance. This can help you pinpoint the source of the problem. Having these tools on hand will help you diagnose and fix your car’s electrical problems.
Identify the Problem
The next step is to disconnect the car battery to prevent electrical shock or short circuits. Always start electrical repairs with the negative terminal of the battery. This is an essential safety precaution, as it isolates the electrical system from the mains. With the battery disconnected, you can continue your repairs without worrying about further damage or injury. Make sure the car is turned off and, if possible, remove the key from the ignition to eliminate any possibility of electrical activation.
Check for a Blown Fuse
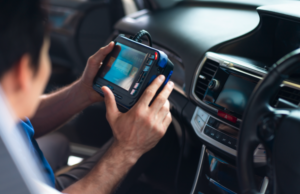
Once you’ve disconnected the battery for safety, it’s time to identify the problem. Many electrical problems have simple causes, such as a blown fuse or corroded connections. Start by inspecting visible wiring for signs of damage, wear, or fraying. If you find any loose or exposed wires, insulate them with electrical tape or replace the damaged parts if necessary. If the problem is not immediately apparent, you can use a multimeter to check the voltage or continuity in a specific circuit to isolate the problem.
Often, a blown fuse is the cause of a defective electrical component. If you determine that the fuse is blown, the next step is to locate the fuse box. The fuse box is usually located under the dashboard or in the engine compartment. Once you have located the fuse box, you can identify the blown fuse by inspecting the appearance of the fuse. A blown fuse usually has a broken metal strip inside. Replace the blown fuse with a fuse with the correct amperage. Be sure to choose the correct replacement fuse to prevent further electrical problems. If the fuse blows again after you replace it, you may need to look deeper into the wiring or the component that is drawing too much current.
Clean and Inspect Electrical Connections
Sometimes electrical problems are due to faulty or corroded connections. A common problem in older cars is corrosion on the battery terminals or other electrical connection points. To fix this, clean the connections with a wire brush to remove the corrosion. Make sure to clean the positive and negative terminals and that the wires are connected properly. If you find any cracked or damaged connections, you may need to replace them. Making sure that the electrical connections are clean and secure can help prevent further problems in the future.
Check and Repair Wires
If you are still having problems after checking for blown fuses and cleaning the connections, the problem may be with your car’s wiring. Over time, wiring can become worn, loose, or shorted, causing electrical problems. Start by inspecting the wires in the affected circuit to see if they show any obvious signs of wear or damage. If you find any problematic wires, you can use a wire stripper to remove the damaged areas and strip the insulation from the ends of the remaining wires. Use the soldering iron to connect the wires together. Make sure the connection is secure and well insulated. You can then cover the soldered area with electrical tape to prevent future install the parts and follow the manufacturer’s instructions.
Test your work
After you’ve made the necessary repairs, it’s time to test your work. Reconnect the battery, turn the ignition on, and check to see if the electrical component or system is functioning normally. Test all lights, radios, and other affected systems to make sure everything is working properly. If the repair is successful, everything should be working as expected. If you’re still having problems, review the steps you took to see if you missed anything. You may also want to consider seeking professional help.
By following these seven simple steps, you can confidently fix common electrical problems in your car and save money on visits to the mechanic. Not only can doing your own car electrical repair save you money, it can also give you a better understanding of the inner workings of your vehicle. While car electrical systems can be tricky, taking the time to carefully inspect and repair any problems can help keep your vehicle running without incurring expensive maintenance bills. With the right tools, knowledge, and methods, you can perform auto electrical repairs like a professional.